From Git to Perforce
As a web developer coming into game development, I started off my projects using Git. This worked well for code-heavy projects, where I was just using the Unreal Starter content, and other odd assets here-or-there.
However, when other projects needed multi-gigabyte assets from the asset store, I had two problems:
- The size of the repo was vastly beyond the max size of the Git hosting providers, such as GitHub and GitLab
- Each time these large binary files are edited, Git needs to store a revision, on every client that pulls the repo
To solve these problems, I looked to setting up Perforce, on my own Digital Ocean droplet. In this article, I'll explain how I did it, especially the troubleshooting steps that I used to fixe my mistakes.
The Droplet
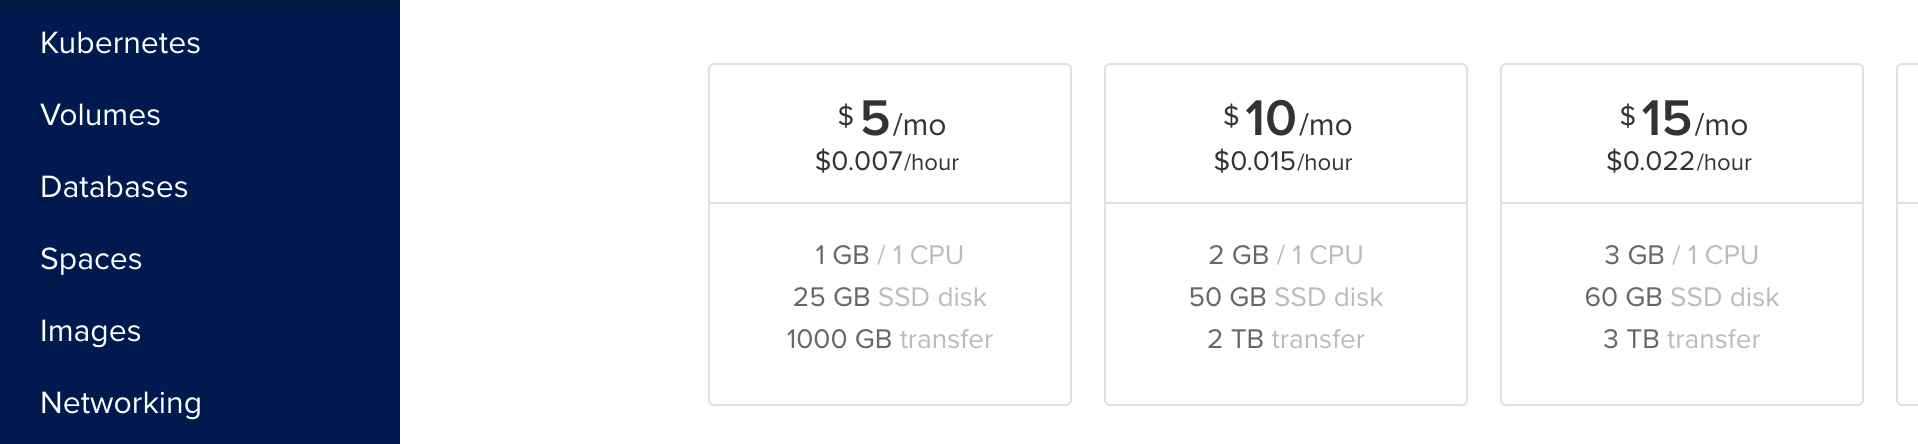
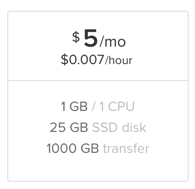
When I looked at the Perforce minimum system requirements at https://community.perforce.com/s/article/2957, I was surprised at how low they were. I went with the lowest-tier droplet, and installed Ubuntu 18.04 on it:
<img src="https://blog.skyleafdesign.com/content/images/2019/11/image-4.png">
The Perforce installation
I followed the installation guide at https://www.perforce.com/manuals/p4sag/Content/P4SAG/install.linux.packages.install.html, and there were no surprises. Add a GPG key and Apt repo, and install the helix-p4d package. Done.
Next, head over to the post-install steps, and run the config script, which will ask you questions, and write your config file at /etc/perforce/p4dctl.conf/your_service.conf. I accepted all the default options, which caused some problems...
Whoops! We need a case-insensitive install
If we look at Epic's Peforce recommendations, we see that they recommend a case-insensitive install, to avoid compatibility problems in the future. This is a great opportunity to flip into troubleshooting mode, and get familiar with the Perforce admin commands.
The first thing we need to do is look at the p4dctl commands, to find a command to stop all running services:
sudo p4dctl stop -a
Next, we need to delete our config:
sudo rm /etc/perforce/p4dctl.conf/your_service.conf
And finally, clean up the deleted service's saved data:
sudo rm -rf /opt/perforce/servers/your_sevice
Re-run the configuration script, and this time, choose case-insensitive! Your new config file will be written to /etc, and you can start the server again with sudo p4dctl start -a.
Deleting a depot
In my case, I had already created a case-sensitive depot, which I needed to fully delete.
Looking at the p4 depot command, we can delete the depot metadata:
p4 depot -d my_depot
Done!
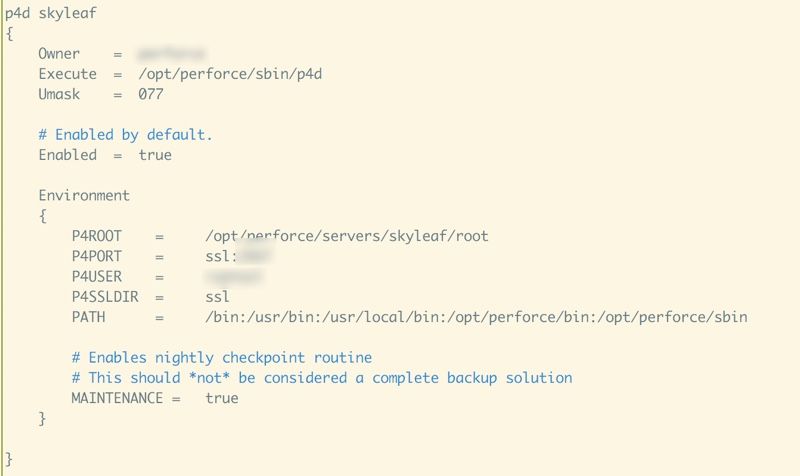
Setting a custom port
My server spends all day responding to SSH brute force attacks from Chinese servers, which I've partially mitigated by using non-standard ports for most of my services. To set up a custom port for you Perforce service, just add it to your config file in /etc:
Setting up type maps
In the Unreal/Perforce integration guide, they recommend setting up typemaps to handle the Unreal binary content. I haven't done this yet, but it's probably best to run the P4 commands to set those up:
p4 -P YourPassword typemapI haven't set this up yet, because I'm not sure if it affects the entire server, or just a particular depot. I plan on using this server for other C++ projects, and I wouldn't want my Unreal typemaps to interfere with that.
Creating your first depot
On your client machine, head over to the Helix Core GUI client download page, and download the bundle--it contains P4Admin, P4V, and some other tools.
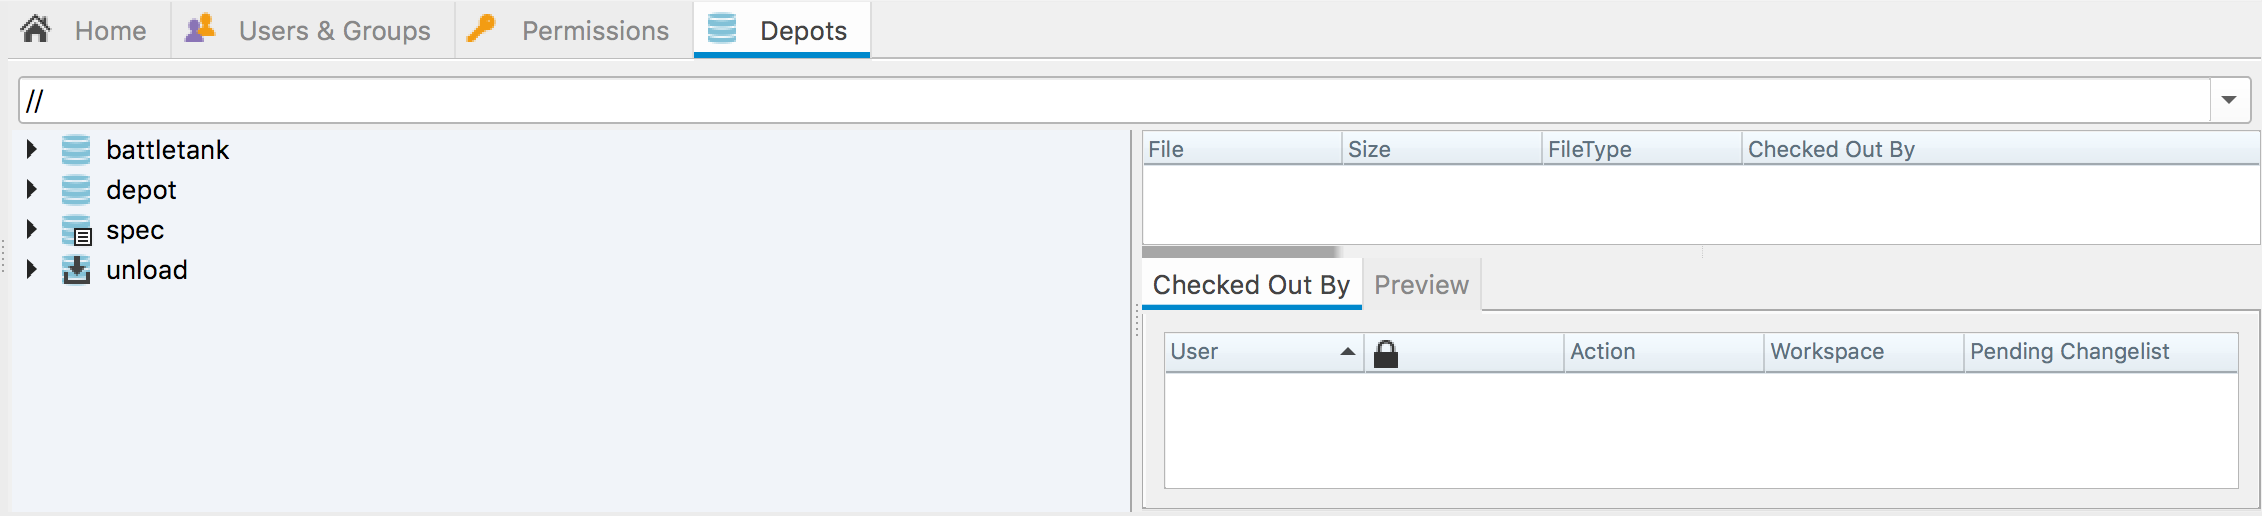
First, we need to create a depot. Open up P4Admin, and connect to your droplet's IP address and custom port. Go to the Depots tab, and right-click to create your new depot:
That's it for P4Admin!
Creating a workspace
Finally, we need to set up a workspace (with cross-platform settings), and populate the depot with the initial files.
Open P4V and log in to your server. Go to the Workspaces tab and right-click to create a new workspace. Right-click to clear all depots, except for the depot you just created. It'll prompt you to add files. Click on the advanced tab, and check the box for compression and rmdir.
For cross-platform work, set the line-ending handling to shared.
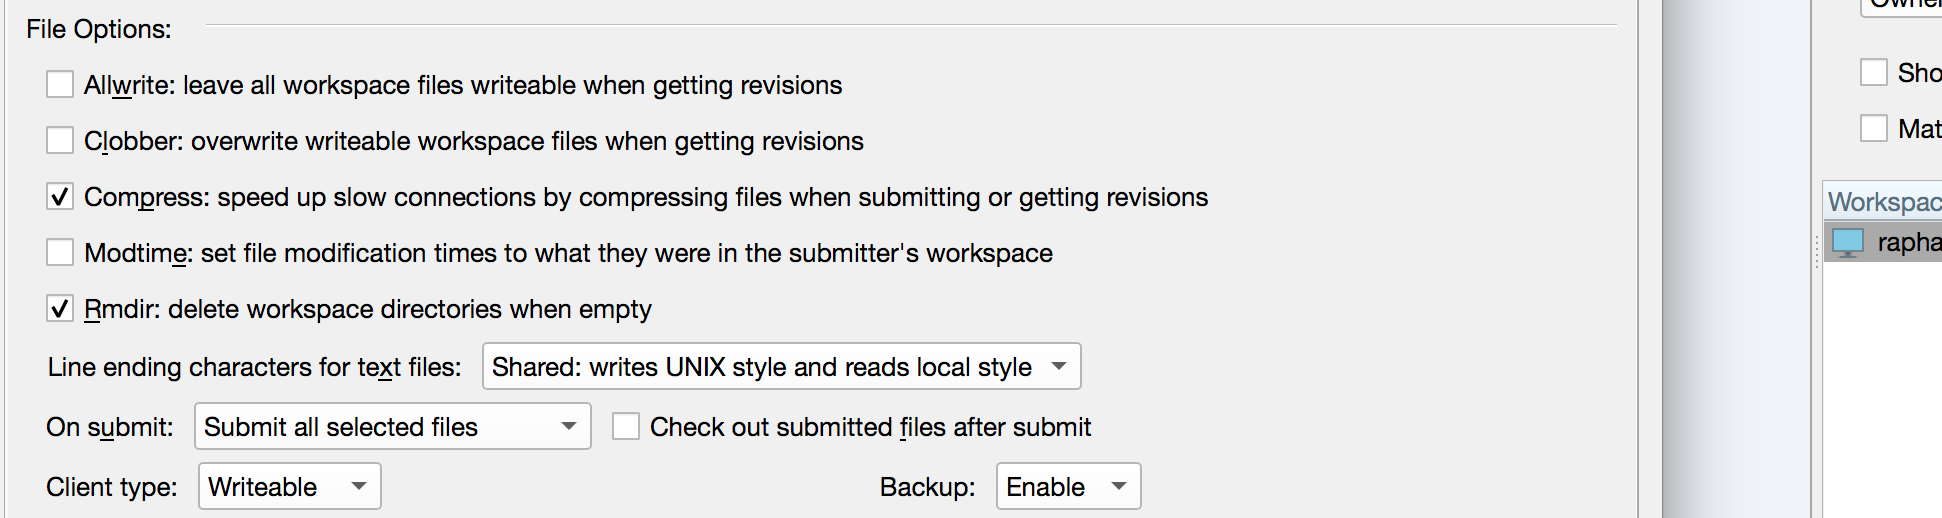
In an ideal world, Visual Studio and Xcode would be able to handle any type of line ending, but for now, we need this option checked--this will make Perforce work like Git's default autocrlf. I think it's insane for a version control system to manage line endings, but it is a necessity from my limited experience
Ending
There you go! You should be able to set up workspaces and build the project on any machine, checkout files, and submit Changelists.
Where to go from here?
As it stands, we need to manually checkout files in P4V, before we work on them in the Unreal editor. To streamline and automate this process, head over to the Perforce/Unreal integration instructions, and set it up!
